

I had given Sue a Zenith H845Y for our kitchen radio, and we used it without restoration or repair for a number of years, but it finally gave up the ghost. I recently got around to restoring it. I found the Sams Photofact online for free download, and bought a scan of the factory manual from Steve Johnson's AntiqueRadioSchematics.org. There are a number of helpful threads about this radio on the Antique Radio Forum, and some good blog posts on Crawls Backward (When Alarmed).

I checked the tubes on my TV-2. The 35C5 had heater to cathode short, the 12AU6 limiter was gassy, one 12BA6 IF tube was weak and gassy and the other was leaky, and the 12AT7 mixer and 6AB4 FM AFC were very weak.
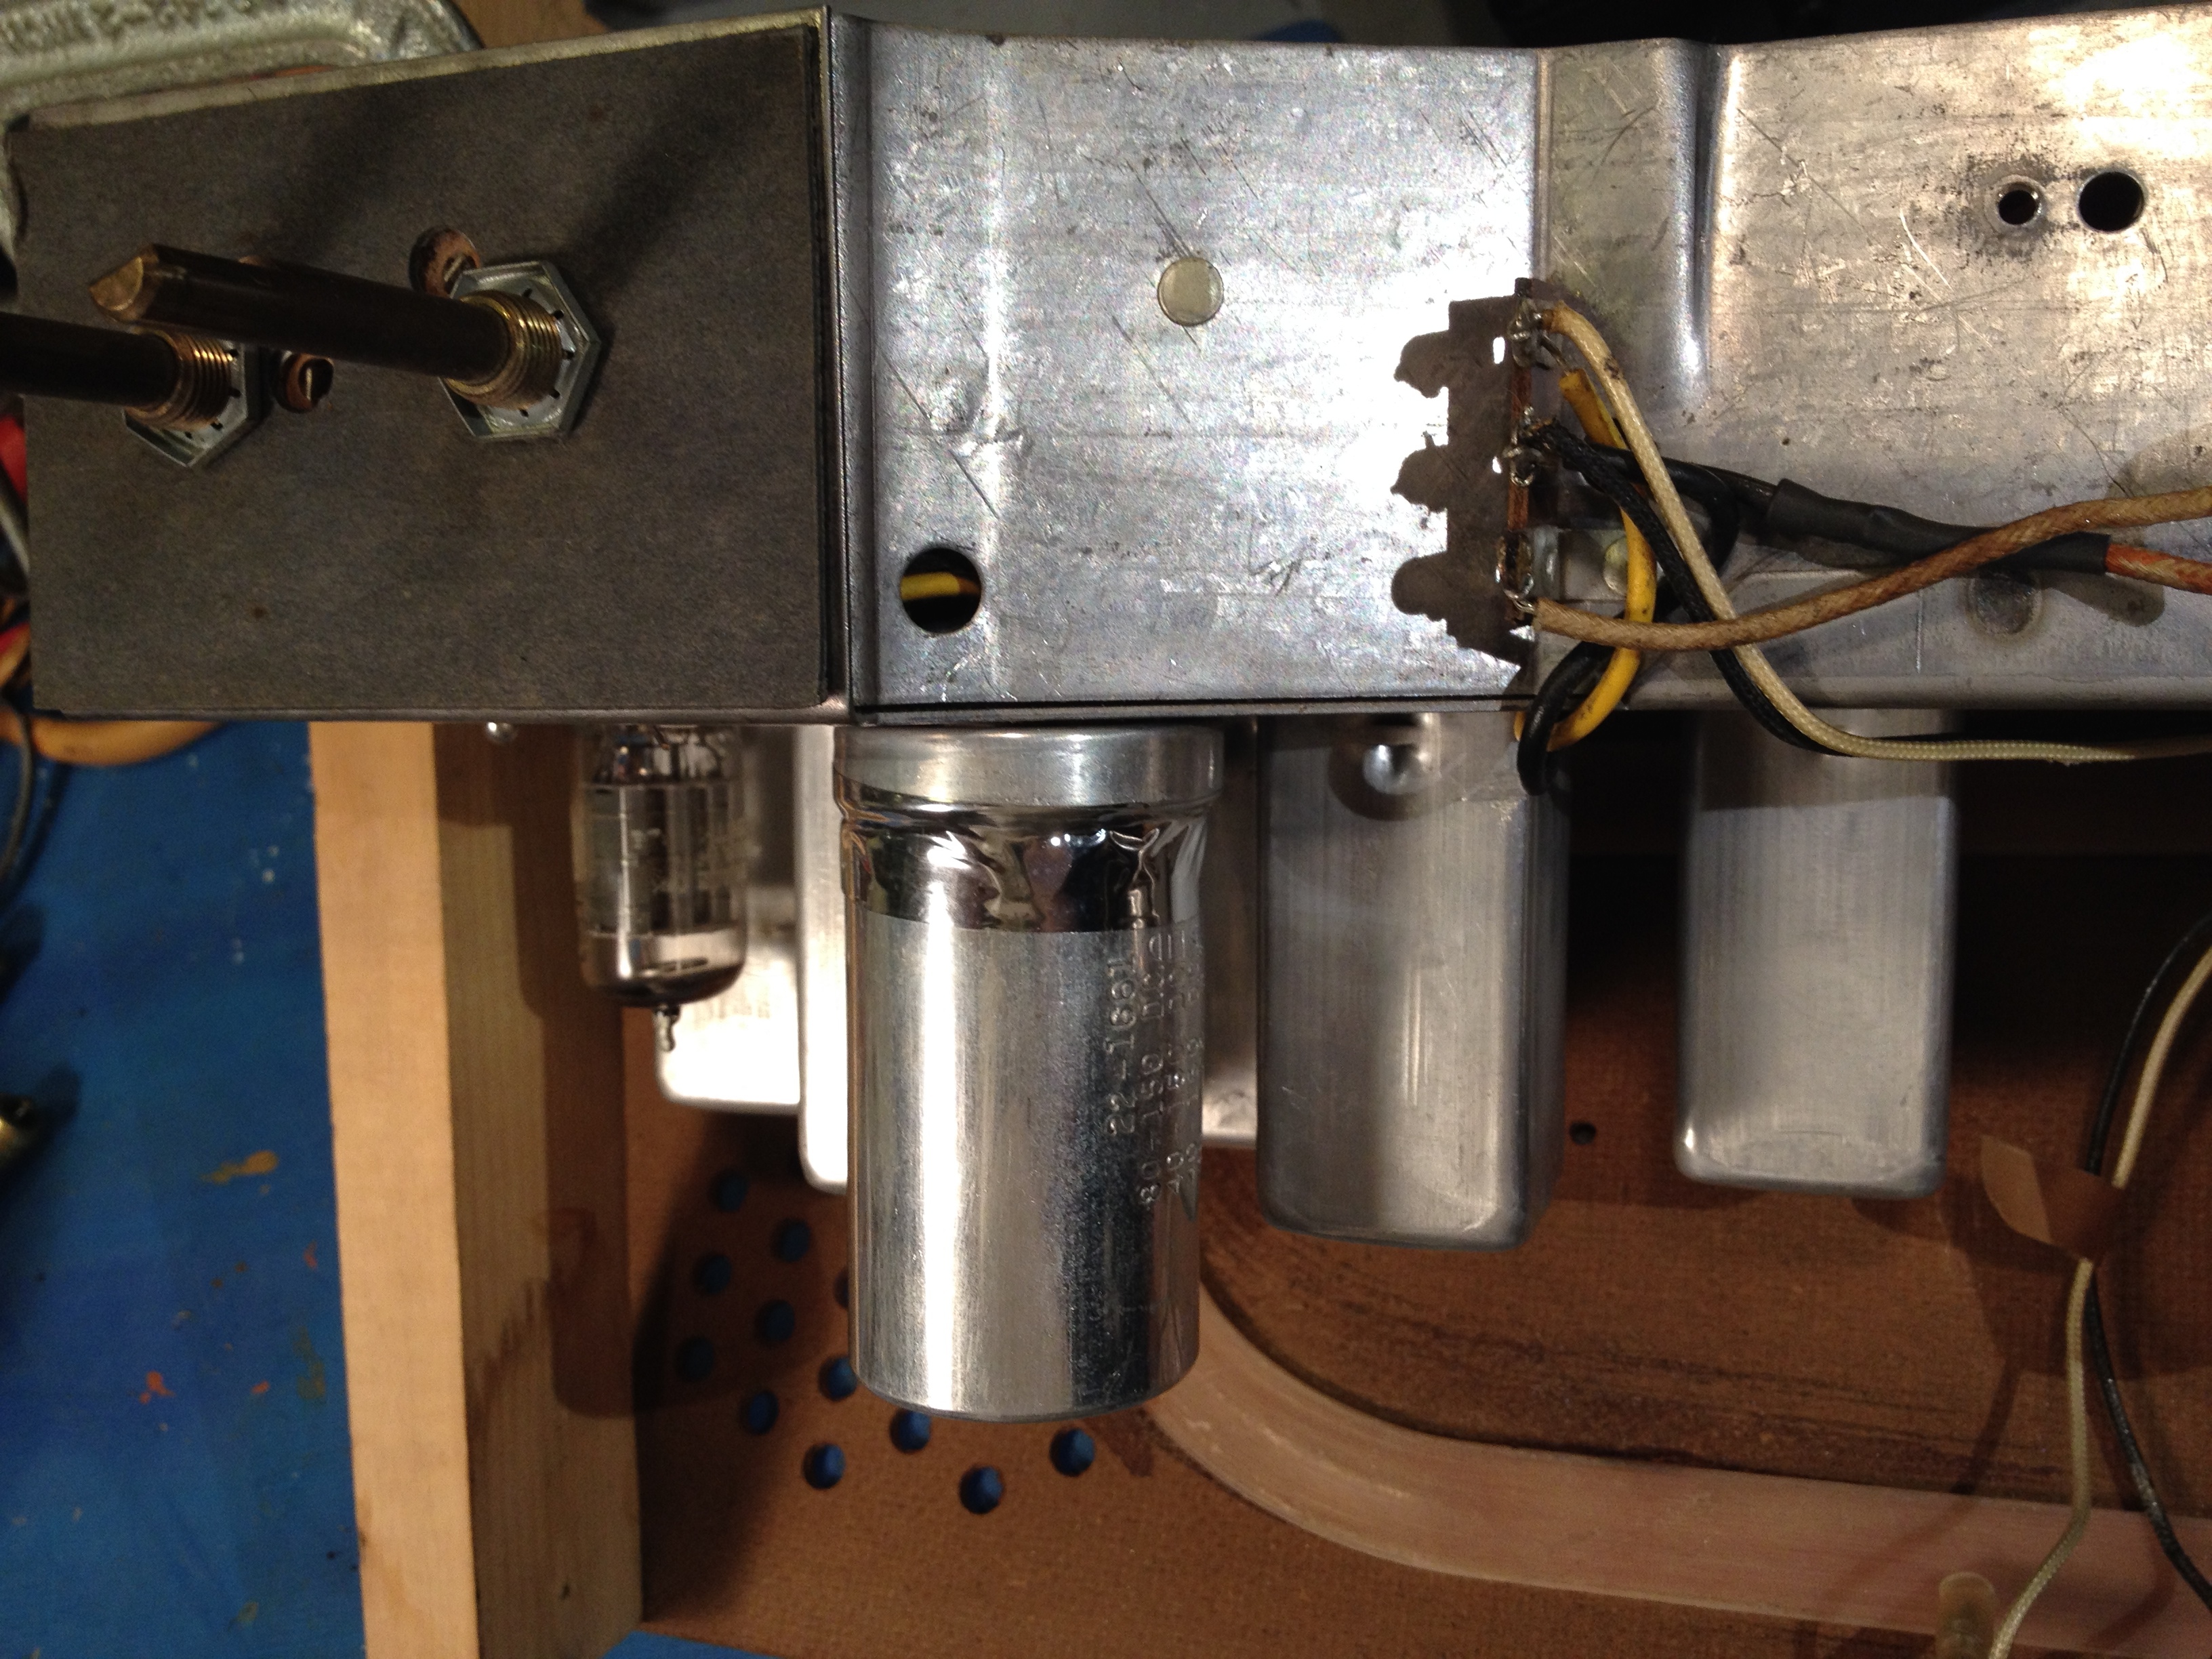
Next I restuffed the multisection electrolytic, replaced the selenium rectifier with a 1N4005, and replaced all the paper capacitors. There was a spare terminal on one of the terminal strips near the filter capacitor - just perfect for mounting a silicon diode replacement for the selenium. It's just below the orange drop capacitor in the photo below.

But the chassis was pretty cramped, so disconnecting the wiring to the terminals on the electrolytic required unsoldering a layer of components that were hiding the multisection filter capacitor.

I restuffed the capacitor can with small-diameter radial electrolytics from Mouser and taped up the joint with some aluminized mylar tape.
Replacing the paper capacitors was hard due to the cramped chassis layout. Fortunately Zenith used many ceramic bypass caps and a few film caps (I think the Sprague orange drop is original), so there weren't too many paper caps to replace.


I usually unsolder and unwrap the old component leads when replacing capacitors, but this time I elected to use quigs instead due to the crowded chassis layout. I built a quig tool using some small brass tubing, music wire, and a larger plastic tube for the handle.


I learned about quig tools on the old R390 list. Al Klase has a nice design for a quig tool on his Skywaves web-site:

There was also a good post by Dennis Wess on the Antique Radio Forum on quig tools with some good photos and his design for a tool.
I use the quig tool to make spiral pigtails on the ends of the new component leads and slip them over the stub ends where I cut out the old component.

While not the classiest workmanship, it's better than breaking lugs on a tube socket or coil.

The cabinet finish was a bit dinged up and the plastic grill was pretty dirty. I removed the grill and washed it with some water with Dawn dishwashing liquid and a toothbrush. I wiped down the cabinet with lacquer thinner until it was clean. I then sprayed on three light coats of Deft spray-can lacquer.

As usual with these radios, the chrome plating on the knobs was worn and peeling. I wasn't about to pay the high price to get them re-chromed, and I know that the chrome spray paint doesn't stand up to handling. so I elected to mask the knobs and paint them silver.


I need to get a silver paint-pen to touch up the "AUTOMATIC FREQUENCY CONTROL" legend.
The chromed trim ring around the speaker has a few small bubbles and blemishes, but a little cleaning with isopropyl alcohol and some rubbing compound made it presentable.

I'm happy with the finished restoration, and Sue is glad to get her good kitchen radio back in service.
