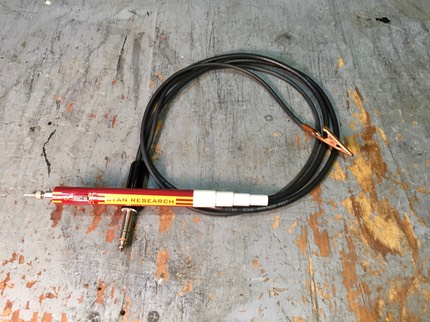
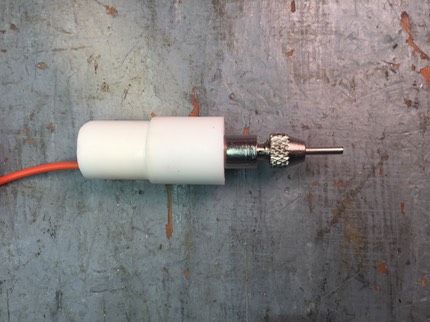
Here’s my homebrew switchable VTVM probe.
This one was made up for a Heathkit IM-28.
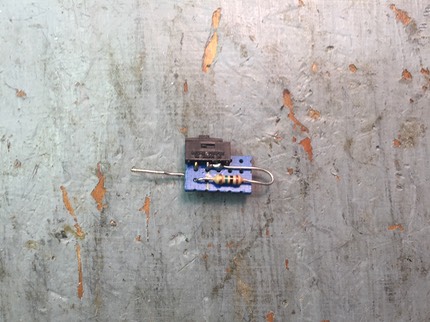
I used a tiny SPDT slide switch I purchased some time ago from Electronics Goldmine, a 1 MΩ resistor, and a scrap of Vector board to put together the switching circuit.
The switch shorts out the resistor in one position.
I used needle-point probe tips that I also purchased from Electronics Goldmine.
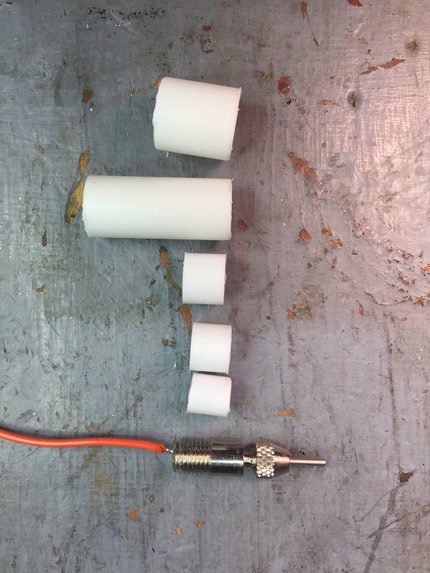
I assembled the front section of the probe from styrene tubing distributed by Evergreen Scale Models. The largest tube (and the body of the rest of the probe) is a section of their 1/2” tubing. The next smaller tube is 7/16”. It also forms the coupler between the probe front and the probe body. Inside that is a ring of 3/8” tubing. I glued them all together using methyl ethyl ketone (MEK) and a small artists brush.
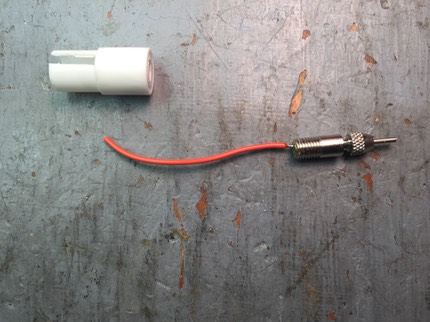
The probe tip is threaded 1/4-32. I tapped a section of 9/32” tubing for the tip, and glued that inside a section of 11/32” tubing.
I had to drill out the center of the 3/8” tubing to 11/32” to assemble the whole unit. Next time, I’ll use 1/4” and 5/16” tubing that will telescope inside the 3/8” tubing. I'll drill out the 1/4” tubing with a #2 drill, then tap it for the probe tip.
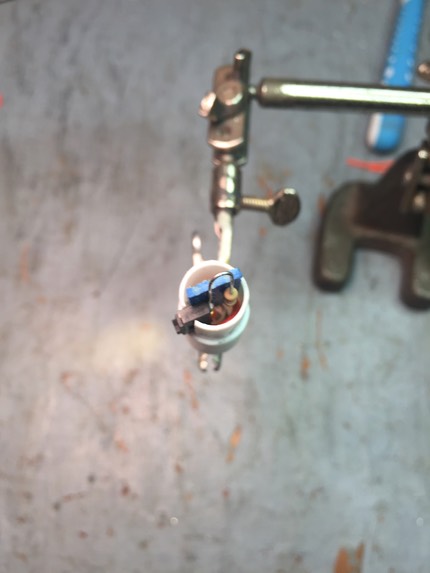
I soldered the switch assembly to the wire from the probe tip ...
… and slid the assembly into the front of the probe.
I added a drop of gel-type cyanoacrylate glue to hold the Vector board in place.
The body is 1/2” tubing. The tail is made from nested sections of 7/16”, 3/8”, and 5/16” tubing.
I slotted the body to fit around the slide switch. I then soldered a length of Belden 8259 coax cable (a type of RG-58A) to the switch assembly, and slid the probe body and tail over the coax.
I then glued the probe body to the front and the tail to the body, again with MEK. I printed out a wrapper with the switch legend on a sheet of adhesive label paper. I cut the wrapper out with a straight-edge and a #1 X-Acto knife with a #11 blade. Unfortunately, I got it on a bit cock-eyed.
I finished up with a spray coat of Testors Gloss Cote lacquer as a fixative for the legend.


