

The fine folks on the Antique Radio Forum persuaded me to restore my Philco 46-1209 console.

Coincidentally, my neighbor's youngest son also inherited the same model from his grandfather, and he asked for my help to restore it.
I wanted to be prepared when we tackle his radio and not encounter any surprises, so for practice I finished the electronic restoration of the chassis from my radio.

I had replaced the electrolytics many years ago when I first acquired it, along with the screen bypass capacitors and some of the coupling capacitors.

I don't remember why I stopped, but it looks like I might have run out of orange drops.

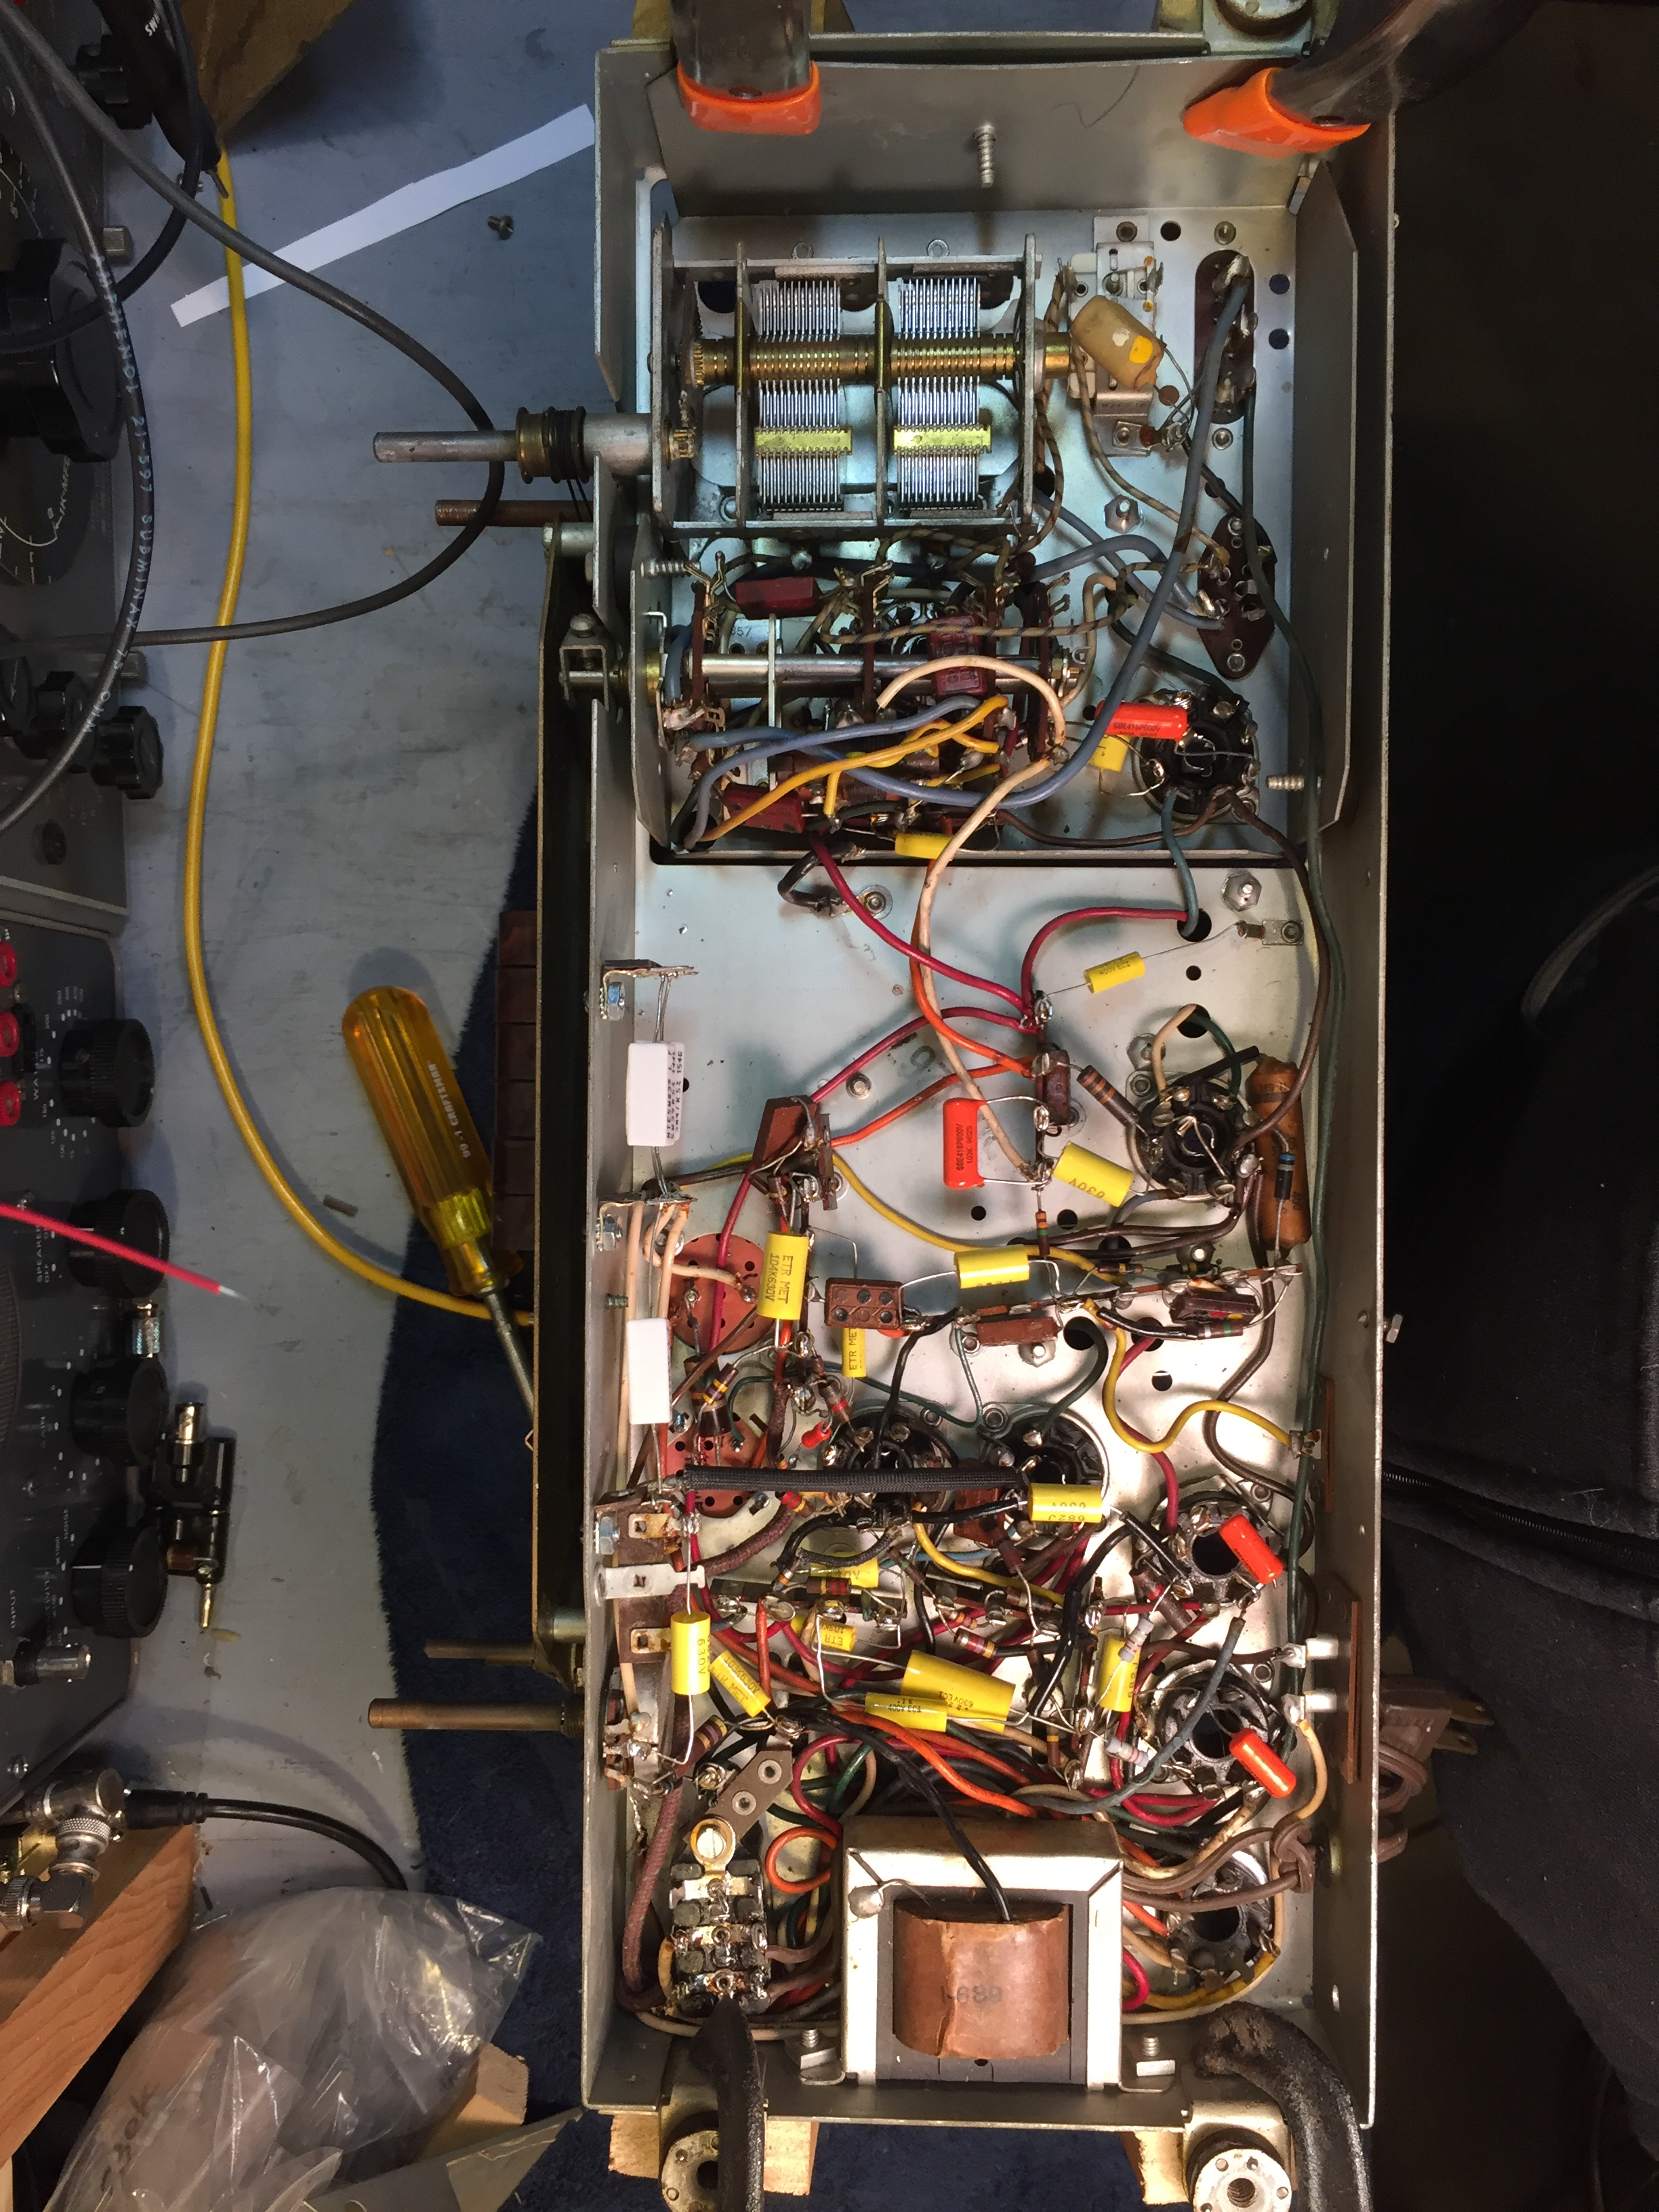
There was only one of the infamous Philco Bakelite capacitor blocks. It held the two AC line bypass capacitors. I dug out the pitch, removed the paper capacitors, and restuffed the block with two X/Y type safety capacitors.

One of the paper capacitors was buried beneath the bandswitch. Rather than remove the bandswitch, I cut the lead on the accessible end of the capacitor and wiggled the cap until the other lead fatigued and fractured (it was the grounded end of the capacitor, so it presented no danger if the loose end were to short to the chassis).

I placed the replacement capacitor along side the bandswitch rather than under it.

Only a few resistors were out of tolerance. I checked and replaced the out of tolerance resistors while replacing the rest of the paper capacitors.

I cobbled together a replacement for the Candohm. The original was functional and not shorted to the chassis, but I didn't trust it to stay that way.
It only took a couple of evenings to finish up the cap-ectomy. Since it was working before I started, I expected it to work after the rest of the capacitors were replaced, so I didn't test it on the bench. Of course Murphy struck, and the chassis didn't work when reinstalled in the console. I got some crackles through the speaker when turning the bandswitch and volume control, but no stations.

The 46-1209 has a dynamic speaker and I didn't want to remove it from the console for testing, so I built a test speaker and a power resistor bank to substitute for the field coil.

I set up a switch between the speaker and an 8Ω resistor so that I can silence the speaker when doing alignments. I also set up a rotary switch and a second 8Ω resistor in series or parallel to provide a choice of 4Ω, 8Ω, or 16Ω.

I made test leads to mate with the four pin connector between the chassis and the speaker.

I used 0.125" O.D. K & S brass tubing form the hobby shop for the pins.
I had to pull the loop antenna from the console and prop it up on bench. Is there a less clumsy way of dealing with the antennas in these old consoles?
On a hunch I cleaned the bandswitch, the volume and tone controls, and the radio/phono switch with DeOxit. After exercising the switches a bit, the radio came alive.
I aligned the radio and put the chassis back in the console. The folks on ARF were right - it really is a good radio with excellent sensitivity and selectivity on the AM broadcast band. But when I cranked up the volume, the sound was very distorted.
When I first worked on the radio, probably 12 or so years ago, I had repaired a tear in the speaker cone with Duco cement. Over the years, the repaired section had shrunk and distorted the speaker cone to the point that the voice coil started rubbing.

I tried cutting out the distorted part of the cone and replacing it with tissue paper, but the cone and suspension were so fragile that I just ended up causing more damage.

So I cut the old cone out and planned to made a replacement.

The suspension was very fragile, so I gave it a coating of Sobo fabric glue.

I used the old cone as a template to make an oversized replacement.

I made the cone in two segments because I didn't have a manila envelope big enough for the whole cone. I had to cut out the fold seam.

I shimmed the voice coil to center it and reinforced the remaining flange of the cone with Sobo.

I formed the replacement cone and cut and fit it to the voice coil and suspension through trial and error.

The suspension is stiffer because of the thick coating of Sobo fabric glue, so the bass response isn't as good as the original, but at least the voice coil doesn't rub.